Creating an Altar
- Ava Sofia

- Apr 26, 2023
- 2 min read
Creating an altar can be a great way to delve deeper into your practice and create a safe space for manifestation and exploration of spirituality. When creating one for the purpose of self-love and personal growth, the altar should act as a reflection of you and your desires. While altars can be used for many reasons, including connecting with the universe and communicating with different entities, I want to focus on one that is made specifically for you and your betterment.
There are important steps that go into the creation of an altar that should be followed for the best positive outcome. However, everything else is completely up to you. This altar is a mirror of who you are, who you want to be, and how you plan on achieving that. So please take as many creative liberties as you would like! In the end, this altar is only for one person. You!
Step 1: Gather Your Supplies
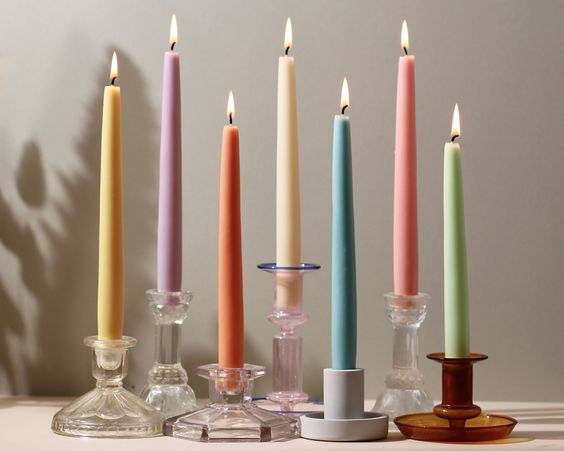
In my opinion, this part is the most fun! Some supplies include candles (please read my Beginners Guide to Candle Magick to discover what candles would work best for your altar), flowers, incense, toning bowl/bell, crystals, feathers, spell jars, dried herbs and/or fruits, and written letters/affirmations. Feel free to also grab objects that are sentimental to you or that best reflect the path of growth you’d like to explore.
Step 2: Choose Your Location
When choosing a location, there are many aspects to keep in mind. Your altar can be as large or small as you want, so don’t worry too much about space. Find a spot that is easily accessible to you. However, if you have any pets or children in the house, make sure that the altar is not in a spot where things can be easily knocked over or tampered with. If your altar has objects that can be damaged by sunlight, such as certain crystals or fabrics, find a place that isn’t constantly exposed to the sun. Lastly, if you plan on using candles, make sure it’s in a location away from anything flammable.
Step 3: Arrange Your Altar
Once you’ve gathered all your supplies and have found the perfect location, it’s time to start arranging your altar! I recommend placing a tablecloth or piece of fabric down first, just to protect the surface from any damage (such as wax drippings, ash, spills, and residue from herbs). Begin to place your object in whatever order you feel connected to. I recommend putting your intention into each object as you place it—what is its purpose on the altar, what do you hope it’ll bring you? Also, remember that you are always able to add or remove different objects once your altar is finished.
Step 4: Gratitude
Once everything is set up, spend a moment appreciating your creation and giving thanks for everything that you hope this altar will bring. Whether verbally or mentally, send positive energy, gratitude, and hope to your altar. I also recommend taking a moment to sage your altar to clear it of any negative energies or fears. Now you have the perfect self-love and personal growth altar!


Comments